
Before starting the actual talk about How to create a contact group on your iPhone, I warmly congratulate you on becoming the proud owner of an iPhone. I do have a special respect in my heart for iPhone users, lol. So, regarding this respect, I have explored the easiest way to create a contact group on your iPhone. Make sure you clear cache on iPhone for efficient working.
How to create a contact group on your iPhone? Utilizing Contact Groups on your iPhone not only streamlines your communication but also enhances the efficiency of managing your contacts. Whether you are coordinating a family event, organizing a social gathering, or simply wanting to stay connected with a specific set of individuals, creating and using contact groups proves to be an invaluable feature. The iPhone makes this process user-friendly, allowing you to organize your contacts effortlessly.
You must follow these steps to create a contact group until this post’s end.
How To Create A Contact Group On Your iPhone
To create a contact group on your iPhone, follow these simple steps:
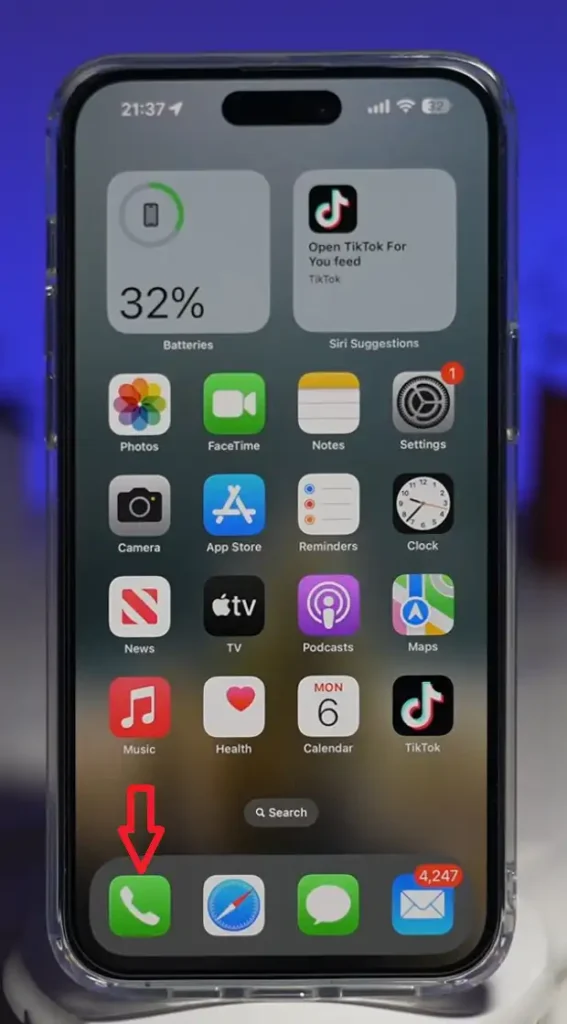
1. Open the Phone app.
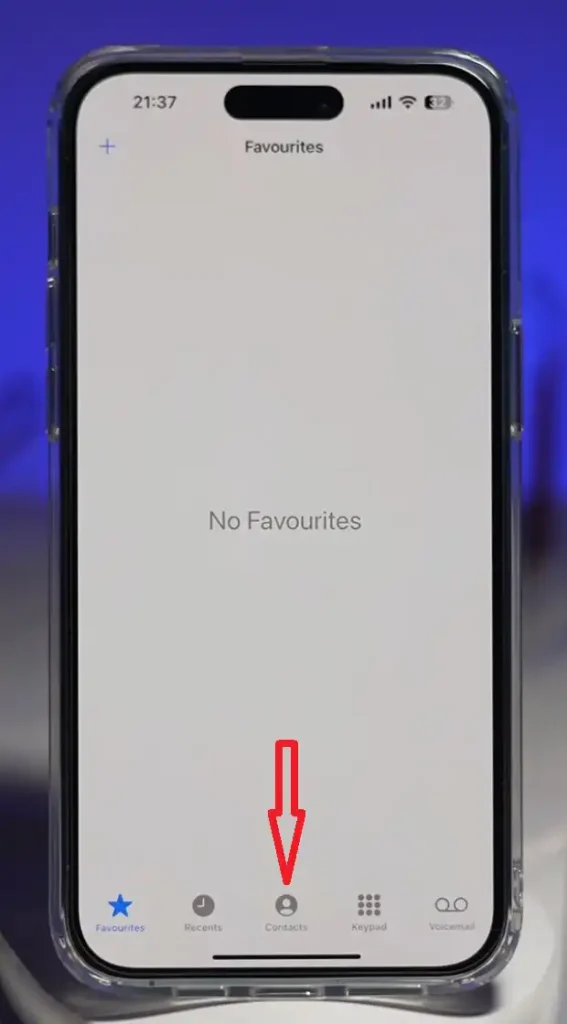
2. Tap on the “Contacts” tab located at the bottom.
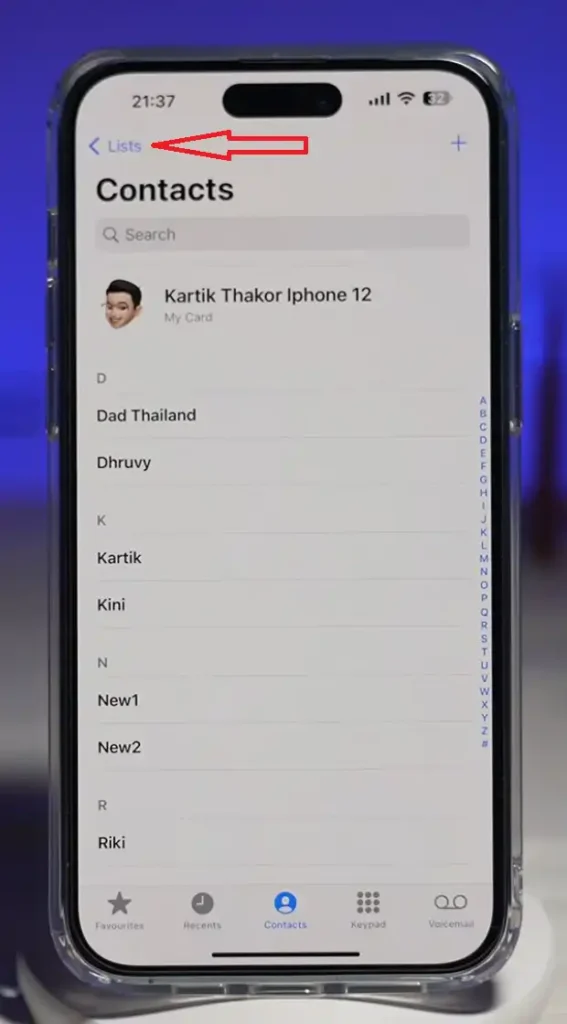
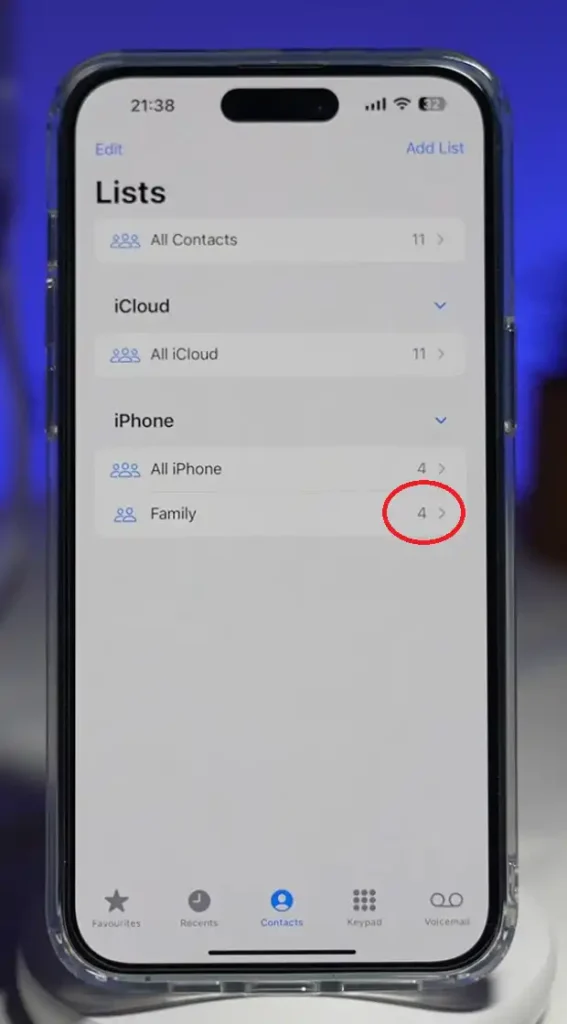
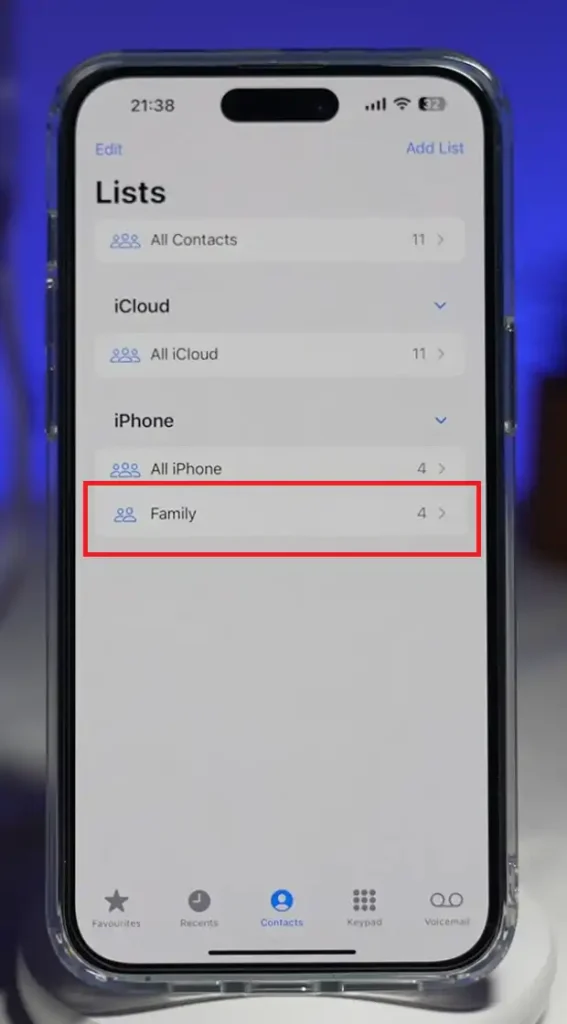
3. Go to the list located at the top left corner.
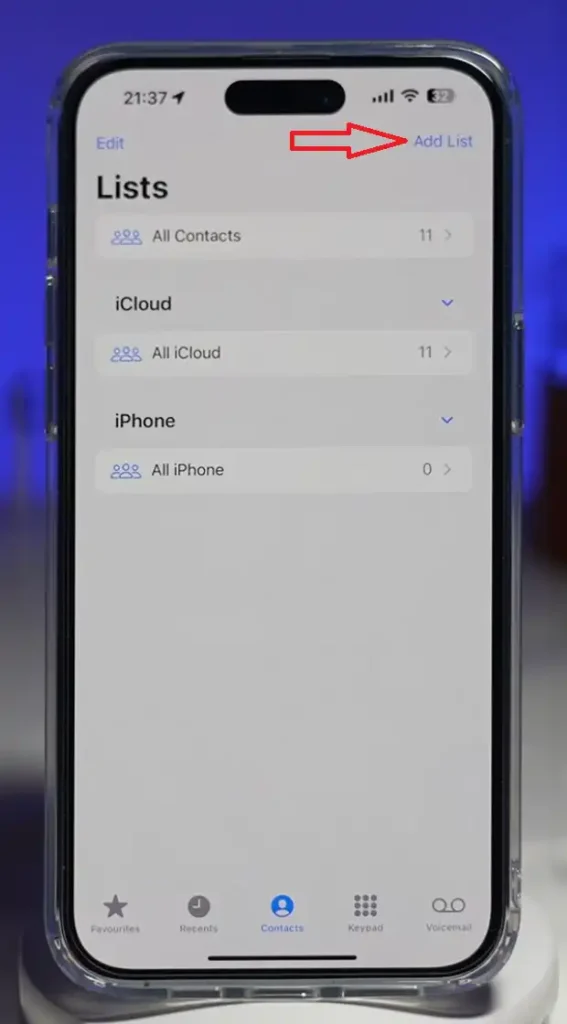
4. At the top right corner, you see “Add List” option click on it.

5. Choose the preferred location where you want to save the list.
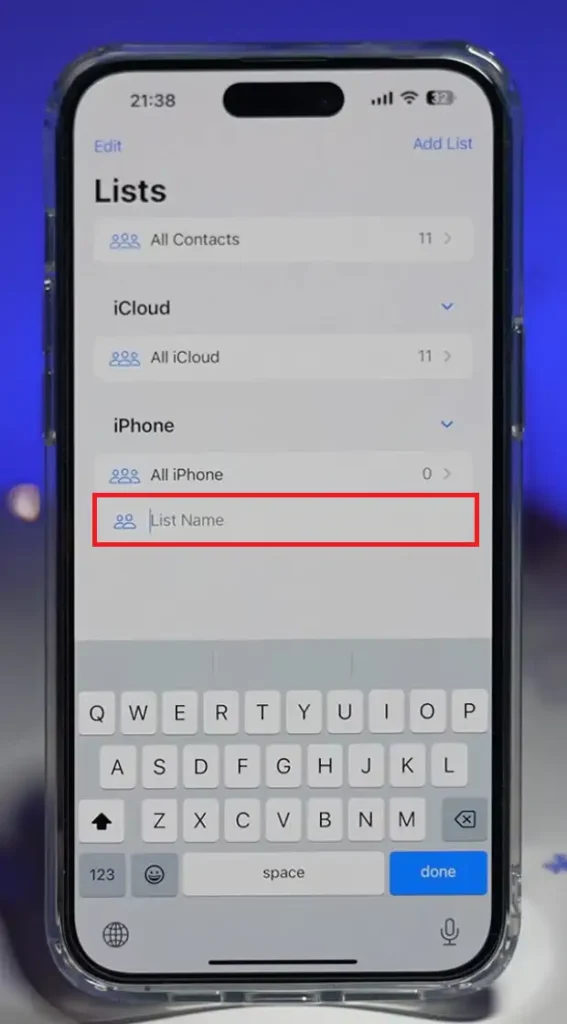
6. Provide a suitable name for this newly created list.
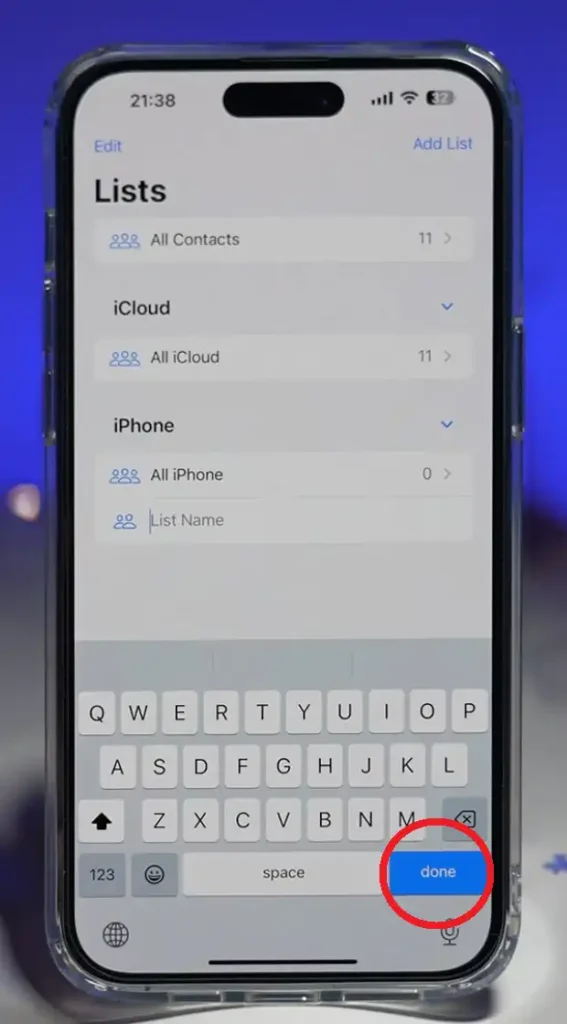
7. Once you’re ready, tap “Done” to finalize the process.
How to Add Contacts to a Group on your iPhone?
Follow these steps to To add contacts to your created Group:
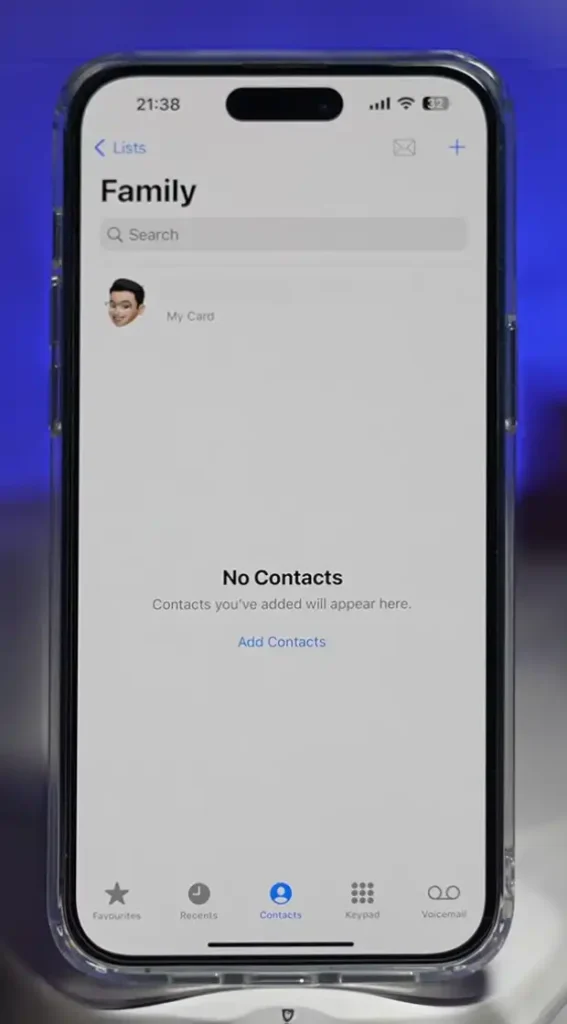
1.Tap on the desired Group you want to add contacts to.
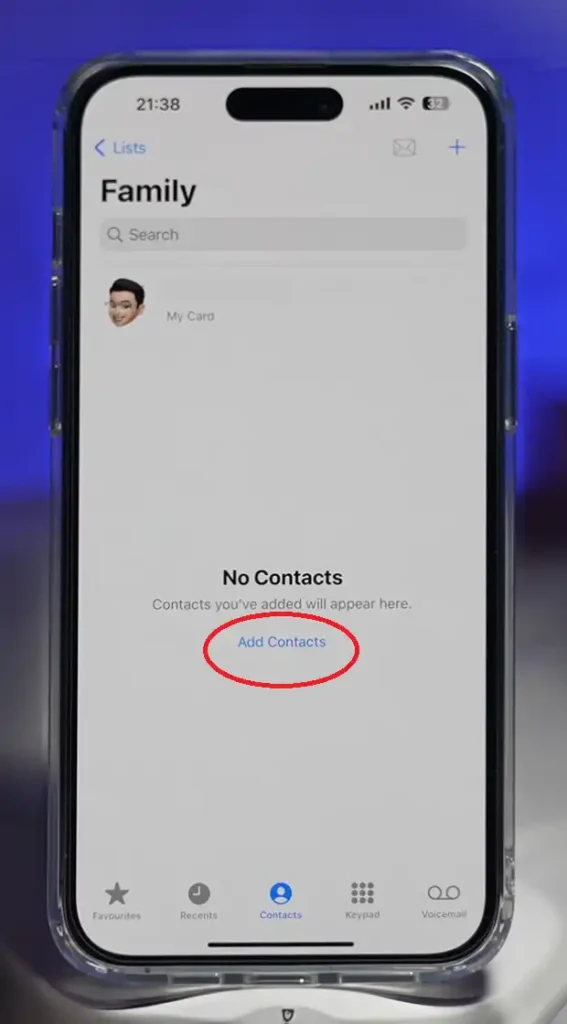
2. Select the “Add Contacts” option.
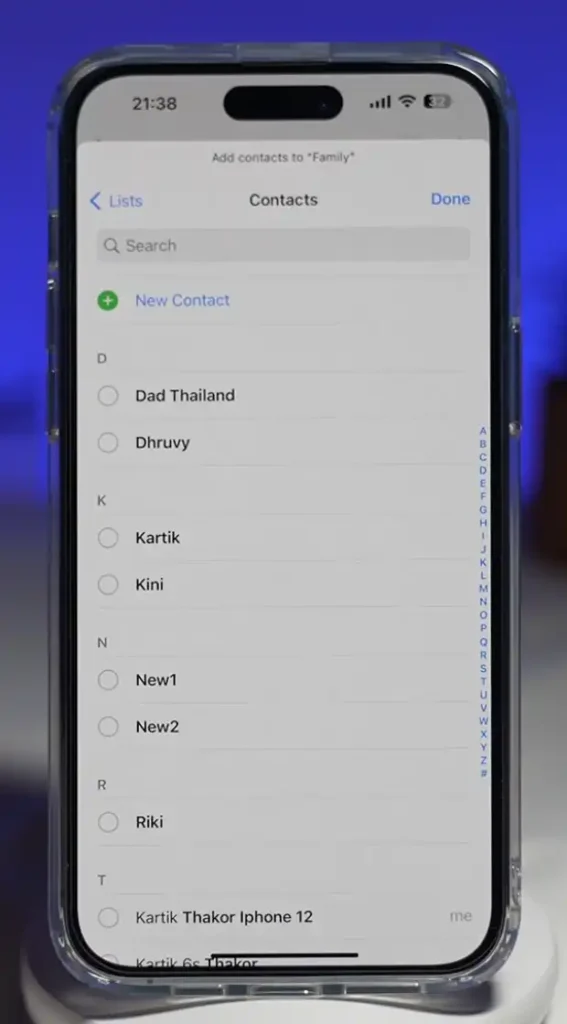
3. Choose all the people you want to include in the Group.
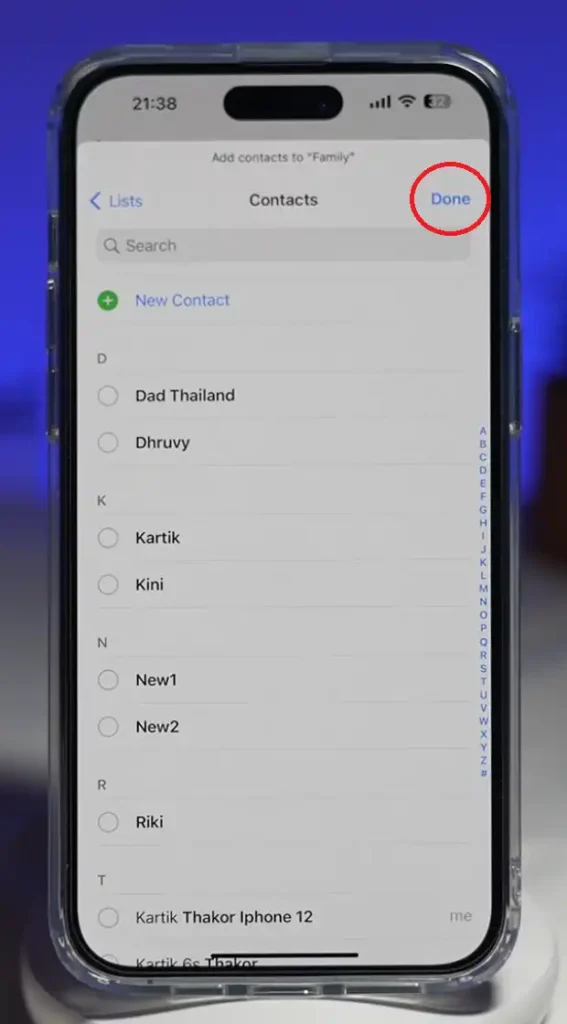
4. Once you’ve made your selections, tap “Done” in the upper-right corner.
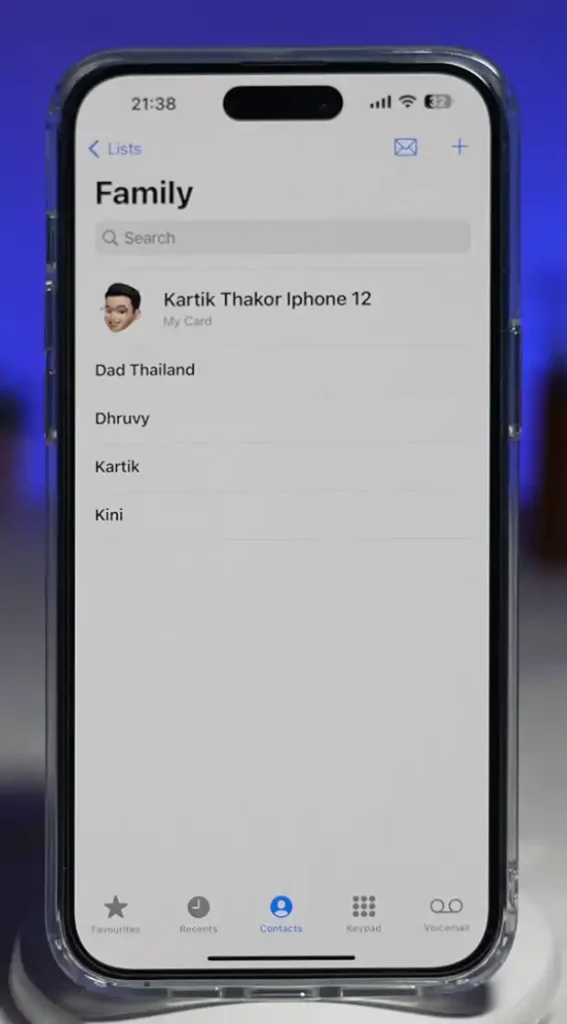
5. Upon returning, you’ll find the Group populated with the selected members.
Once you have successfully created a contact group following the provided steps, you gain the ability to easily add or remove members as needed. This flexibility ensures that your contact groups remain dynamic and reflective of your evolving social circles or professional networks. It’s a practical solution for keeping your contacts organized and accessible with just a few taps on your iPhone. By these easy steps you can find the easy answer of you question ” How to create a contact group on your iPhone”.
How to Send a Message in a Group on an iPhone?
To send a message to a group via email, proceed as follows:
1.Tap on the desired Group you wish to message.
2. Click on the message icon located at the top-right corner.
3. An email composition window will open, allowing you to compose your message.
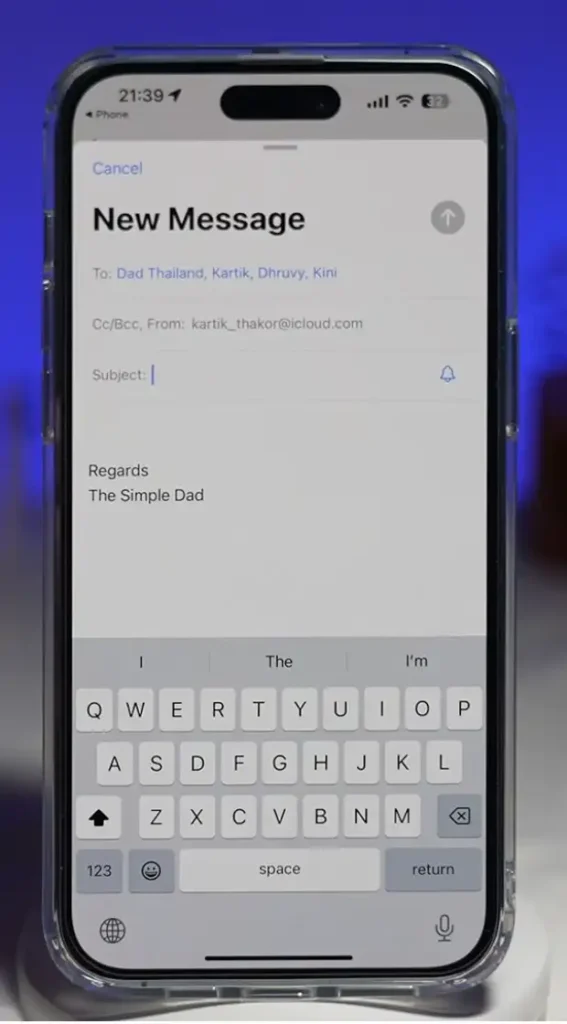
4. Compose your email message as needed.
Once satisfied with the content, you can send the message to the entire Group.
Moreover, the feature extends beyond mere organization, as you can efficiently send messages to an entire group without the need to select individual contacts each time. This is particularly advantageous for those occasions when you need to convey information to a specific set of people simultaneously. The iPhone’s intuitive interface makes it straightforward to compose and send messages to your contact groups.
Furthermore, if you ever find the need to edit or modify an existing contact group, the process is just as straightforward. Simply revisit the “Contacts” tab, locate the desired group, and make the necessary adjustments. This adaptability ensures that your contact groups remain current and aligned with your communication needs.
In addition to the steps outlined earlier, it’s worth noting that your iPhone’s contact groups seamlessly integrate with other apps and features. For instance, you can leverage these groups when scheduling events in your calendar or sending invites via messaging apps. This interconnected functionality adds a layer of convenience to your overall user experience, demonstrating the thoughtful design and integration within the iOS system.
Conclusion
Mastering the art of creating and managing contact groups on your iPhone not only enhances your organizational skills but also optimizes the way you communicate with different sets of people. The steps provided earlier serve as a foundational guide, allowing you to harness the full potential of this feature. So, as you explore the various facets of your iPhone, remember that the ability to create contact groups is a powerful tool that can significantly enhance your overall user experience. Embrace this functionality, and you’ll find yourself navigating your contacts with ease and efficiency.
Frequently Asked Questions on How to Make a Contact Group on your iPhone
Can I add existing contacts to a group on my iPhone?
Yes, you can easily add existing contacts to a group. Simply open the contact group, tap "Edit" at the top right, then tap "Add Member" and select the contacts you want to add from your existing contacts list.
Are contact groups synced across my Apple devices?
Yes, contact groups you create on your iPhone are synced across all your Apple devices linked to the same iCloud account, including iPads and Macs, ensuring consistency and accessibility across your ecosystem.
Can I rename or delete a contact group on my iPhone?
Yes, you can rename or delete a contact group. Simply open the Contacts app, select the group you want to modify, tap "Edit" at the top right, then choose "Rename Group" to change its name or "Delete Group" to remove it entirely.
Is there a limit to the number of contacts I can add to a group on my iPhone?
While the iPhone doesn't impose a strict limit on the number of contacts you can add to a group, practical considerations such as device storage and performance may impact the maximum number of contacts you can effectively manage within a group.